
Build a Simple Online Store Using Laravel Folio and Volt
What makes the Laravel ecosystem magical is that there are always new things to learn and experiment with. Some of the latest additions to it are Laravel Folio and Volt.
Laravel Folio offers a file-based approach to defining routes. And Volt introduces single-file components and an optional new composition API to Livewire v3.
Embracing these new tools and principles can enhance your productivity and transform how you build web applications with Laravel. Let me show you by building a simple online store.
Before you start, check out the live demo.
Create your new Dummy Store project
Use Laravel's official installer to create your new project:
laravel new dummy-store
Once done, cd into the newly created folder:
cd dummy-store
Is the project ready to go? Let's check:
php artisan serve
If you see Laravel's welcome page on http://127.0.0.1:8000, we can now move on and pull some companion packages into our project.
Laravel Folio
First up on the agenda is to install a package, called Laravel Folio.
Laravel Folio is a new approach to routing. Instead of declaring routes via a routes.php file, we create views that follow a particular naming convention.
Let's pull it in through Composer:
composer require laravel/folio
Once installed, we must add the Service Provider (from which you can customize Folio's behavior and add middlewares), and create the pages directory that will be used by Folio:
php artisan folio:install
The new directory is resources/views/pages.
Install Livewire v3 and Volt
If you've never tried Livewire before, I suggest leveling up your skills first. Volt will be of little use to you without at least some Livewire knowledge.
Volt makes single-file components with Livewire v3 possible, and also adds an optional composition API.
When installed into a project, it also includes Livewire v3 since it's entirely dependent on it. Let's install it using the following command:
composer require livewire/volt
Then, we finalize the process by publishing Volt's Service Provider:
php artisan volt:install
Since we want to leverage Laravel Folio to its fullest, go into app/Providers/VoltServiceProvider.php and swap the two items in the array used in the mount() method:
namespace App\Providers;

use Illuminate\Support\ServiceProvider;
use Livewire\Volt\Volt;

class VoltServiceProvider extends ServiceProvider
{
    public function boot(): void
    {
        Volt::mount([
-            resource_path('views/livewire'),
-            resource_path('views/pages'),
+            resource_path('views/pages'),
+            resource_path('views/livewire'),
        ]);
    }
}
This way, Volt will understand that we want to create new components in the page folder instead.
Confirm that Laravel Folio is operational
To create your first page, I suggest you remove resources/views/welcome.blade.php as well as the route declaration in routes/web.php. Thanks to Laravel Folio, we won't need that anymore.
Then, go into the freshly created resources/views/pages folder. Inside is a .gitkeep that you can remove. Create index.blade.php and add a bit of temporary text.
<h1>Hello, world!</h1>
Finally, visit http://127.0.0.1:8000 (make sure php artisan serve is still running). If you see a page showing "Hello, world!", it means Folio is ready to be used.
Similar to the standard route:list command, you can also run php artisan folio:list to view a list of all Folio-specific routes.
Create the layout
For the sake of simplicity, we'll use an incredibly simple layout. The code you see below is valid HTML that browsers can render. The Tailwind CSS Play CDN will enable us to skip over the typical compilation process for a normal project. As you may imagine, it's not recommended to do this is production.
Create a file in resources/views/components/layouts/app.blade.php and paste this code:
<html class="bg-gray-50 text-gray-600">
    <title>{{ config('app.name') }}</title>

    <script src="https://cdn.tailwindcss.com"></script>
    <script>
        tailwind.config = {
            theme: {
                container: {
                    center: true,
                    padding: '1rem',
                },
            }
        }
    </script>

    <div class="container py-16">
        {{ $slot }}
    </div>
</html>
Create your first Livewire component using Volt
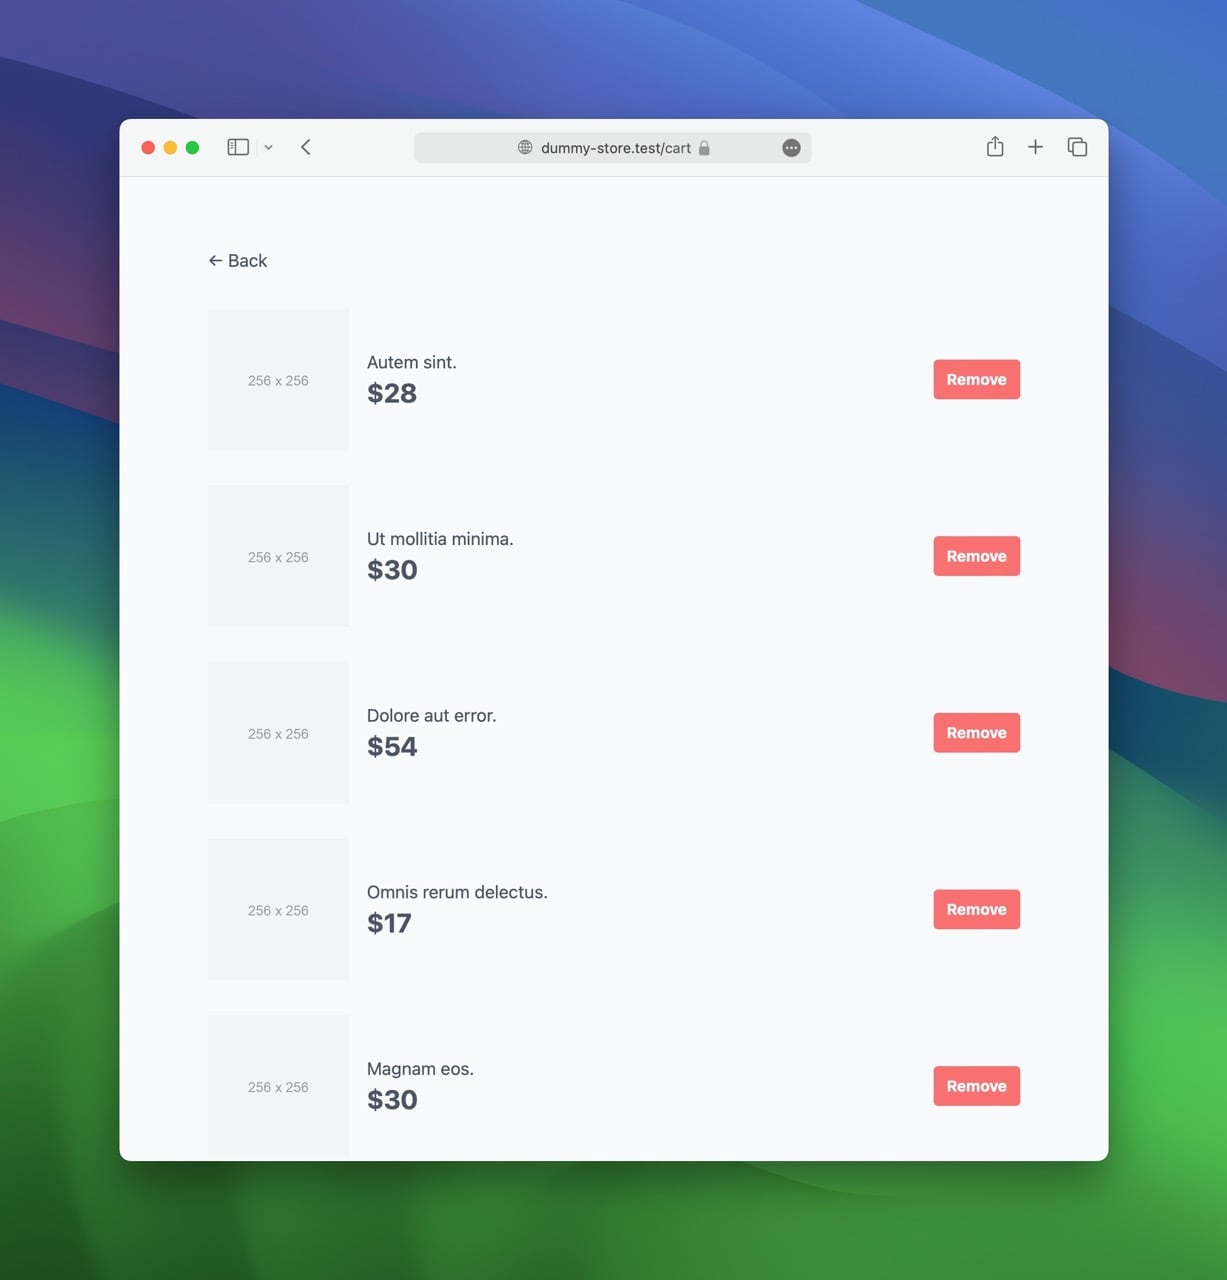
Let's start by creating the main component of our online store: the cart. Inside, we will simply list the products that have been added to it and give the ability to users to remove them without ever having to reload the page.
php artisan make:volt Cart
This command will create a new component in resources/views/pages/cart.blade.php. Unlike the traditional way of using Livewire, we don't need a separate PHP class, which speeds up the process and simplifies the codebase.
<?php

use function Livewire\Volt\state;

state('count', fn () => cache()->get('count', 0));

$remove = function () {
    if ($this->count > 0) {
        cache()->put('count', --$this->count);
    }
};

?>

<x-layouts.app>
    @volt
        <div>
            <div>
                <a href="/">
                    ← Back
                </a>
            </div>

            @if ($count)
                <div class="grid gap-8 mt-8">
                    @foreach (range(1, cache()->get('count')) as $item)
                        <div class="flex items-center justify-between gap-4">
                            <div class="flex items-center gap-4">
                                <img src="https://via.placeholder.com/256x256.png/f3f4f6" width="128" height="128" />

                                <div>
                                    <div>{{ fake()->sentence(2) }}</div>
                                    <div class="font-bold text-2xl">${{ rand(10, 100) }}</div>
                                </div>
                            </div>

                            <button
                                class="bg-red-400 text-white rounded py-2 px-3 text-sm font-bold"
                                wire:click="remove"
                            >
                                Remove
                            </button>
                        </div>
                    @endforeach
                </div>
            @else
                <p class="mt-16 font-light text-center text-3xl">
                    Your cart is empty.
                </p>
            @endif
        </div>
    @endvolt
</x-layouts.app>
Break it Down:
Take a moment to review the code above. Here are a few things worth noting:
- Laravel Folio automatically created a route for the cart. Again, you can see it by running
php artisan folio:list. - The component is wrapped inside the
@voltdirective instead of a distinct file insideresources/views/livewire. That makes it an anonymous component. - Instead of setting up a database, migrations, models, factories, etc., we use the cache to store the number of items. That way, we can focus on learning. Obviously, this isn't how you would do it in production.
- The items are randomly generated using the
fake()helper. This is a huge gain of time. - I provided a basic layout with a button to remove the items. When clicked, it calls a Livewire method named
remove(). In Volt's new declarative API, we define theremove()method as a closure inside a variable. - The Livewire code is defined between PHP tags. You cannot use the
@phpdirective for setting up anything related to Volt. - We define the initial state of
$countusing thestate()helper. It contains a closure that fetches the value from the cache. - In the
remove()method, we make sure the count is greater than 0 before decrementing it. Then, we store the new value in the cache.
Makes sense? Now, we can start building the homepage and its components, because we still can't add products into our cart!
Create the item component
Our next step is to create an Item component. It represents individual products available for purchase in our store.
This time, we'll use Livewire instead of Volt to create the component. We want it inside the resources/views/livewire folder.
php artisan make:livewire Item
Once the command executes, remove the file created in app/Livewire/Item.php and navigate to
resources/views/livewire/item.blade.php. Then, add this code:
<?php

use function Livewire\Volt\state;

state('done', false);

$add = function () {
    $this->dispatch('product-added-to-cart');

    $this->done = true;
};

?>

<div>
    <img src="https://via.placeholder.com/512x512.png/f3f4f6" alt="Product Image" />

    <div class="flex items-start justify-between mt-4">
        <div>
            <div>{{ fake()->sentence(2) }}</div>
            <div class="text-2xl font-bold">${{ rand(10, 100) }}</div>
        </div>

        <button
            class="px-3 py-2 text-sm font-bold text-white bg-blue-600 rounded disabled:bg-gray-200 disabled:text-gray-400"
            @if ($done) disabled @endif
            wire:click="add"
        >
            @if ($done)
                Added
            @else
                Add to Cart
            @endif
        </button>
    </div>
</div>
In this component:
- We have an "Add to Cart" button that calls the
add()method when clicked. - A state variable named
$doneis set totrueto disable the button and display a "Added" message instead. - The
add()function dispatches an event that indicates a product has been added. The component that waits for this event (the cart preview) will increment the value in the cache (that's what we'll do in the next step).
Create the cart preview component
The cart preview component will be a mini-representation of the user's shopping cart, allowing them to quickly view how many items they've added without navigating to the cart page.
Here's how we can create it:
php artisan make:livewire CartPreview
Now, edit resources/views/pages/cart-preview.blade.php:
<?php

use function Livewire\Volt\{on,state};

state('count', fn () => cache()->get('count', 0));

on(['product-added-to-cart' => function () {
    cache()->put('count', ++$this->count);
}]);

?>

<a href="/cart">
    <svg xmlns="http://www.w3.org/2000/svg" fill="none" viewBox="0 0 24 24" stroke-width="1.5" stroke="currentColor" class="inline-block mr-1 w-6 h-6 translate-y-[-2px]"><path stroke-linecap="round" stroke-linejoin="round" d="M15.75 10.5V6a3.75 3.75 0 10-7.5 0v4.5m11.356-1.993l1.263 12c.07.665-.45 1.243-1.119 1.243H4.25a1.125 1.125 0 01-1.12-1.243l1.264-12A1.125 1.125 0 015.513 7.5h12.974c.576 0 1.059.435 1.119 1.007zM8.625 10.5a.375.375 0 11-.75 0 .375.375 0 01.75 0zm7.5 0a.375.375 0 11-.75 0 .375.375 0 01.75 0z" /></svg>

    <span class="font-bold">
        {{ $count }}
    </span>
</a>
In this component:
- We keep track of the number of items in the cart using a state variable (
count). The initial value equals whatever is currently in the cache. - A listener waits for the
product-added-to-cartevent to update the count. - The UI displays the current value of
count.
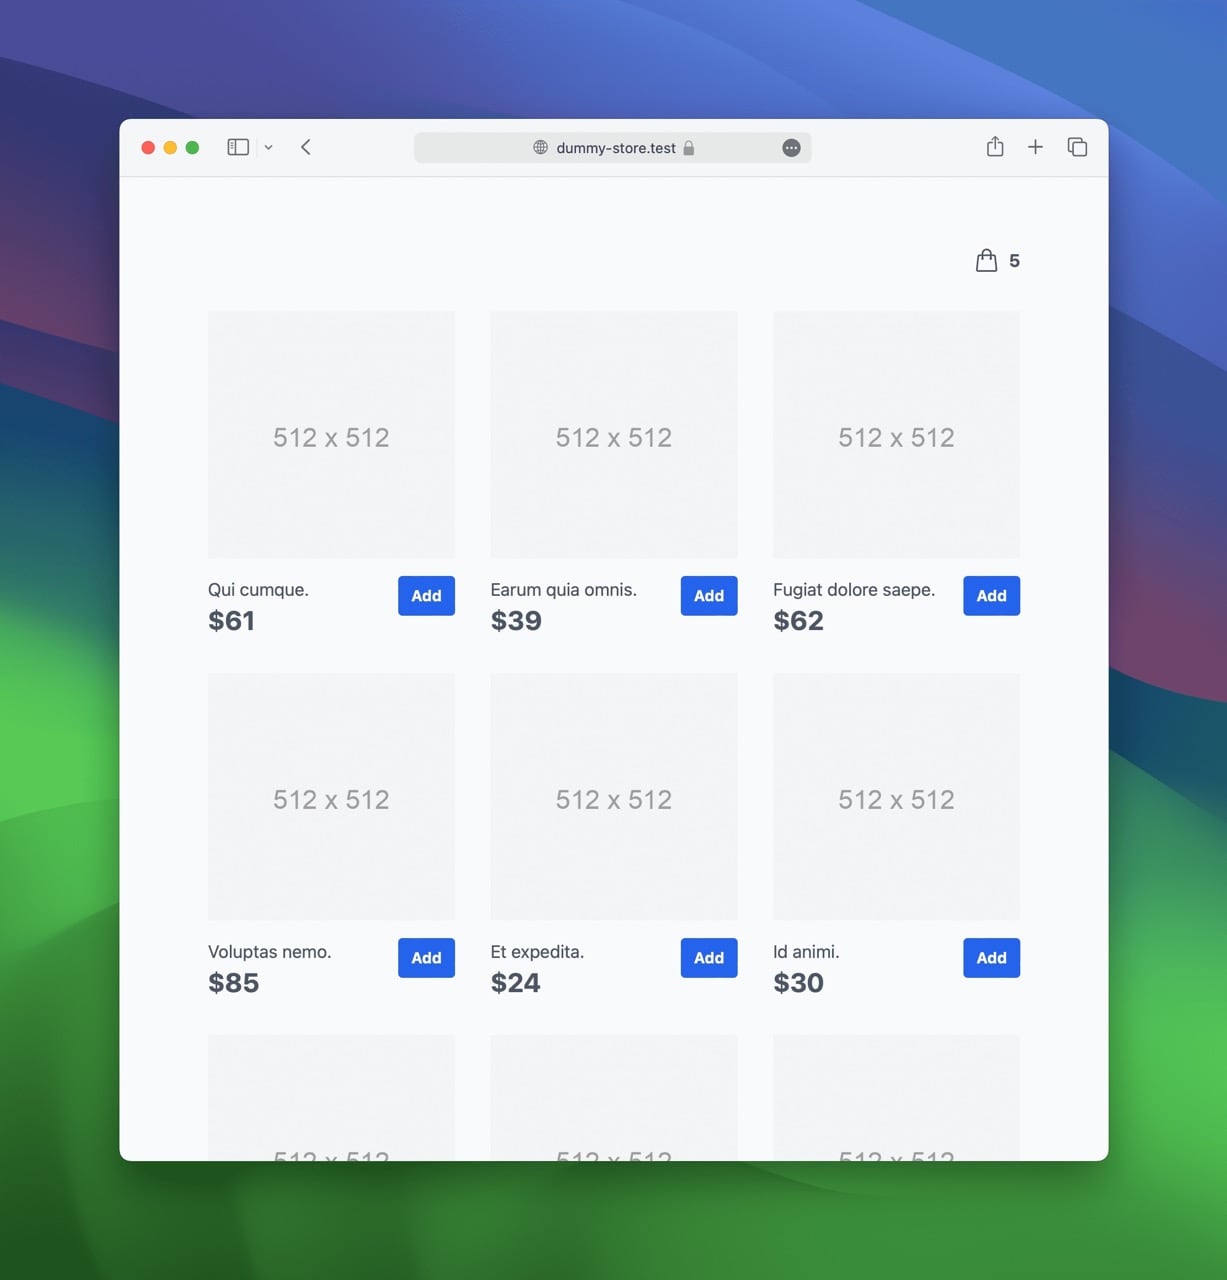
Create the homepage
The homepage is the simplest piece of code we'll have to write. It's just laying out the components we wrote earlier. Put the following code in resources/views/pages/index.blade.php:
<x-layouts.app>
    <div class="text-right">
        <livewire:cart-preview />
    </div>

    <div class="grid grid-cols-3 gap-8 mt-8">
        @foreach (range(1, 9) as $item)
            <livewire:item />
        @endforeach
    </div>
</x-layouts.app>
- This is a simple Blade component.
- We create an array of nine items using the
range()function. Remember, they're all randomly generated.
Transform your app into an SPA with wire:navigate
Our online store is already quite impressive. But what if I told you we could enhance it with minimal effort? Livewire v3 comes with a new HTML attribute named wire:navigate. When
used, it will only fetch the new HTML and replace the current one, instead of reloading the whole page.
Let's add the wire:navigate attribute on the link to the cart in resources/views/livewire/cart-preview.blade.php:
-<a href="/cart">
+<a href="/cart" wire:navigate>
    …
</a>
Before you can see for yourself how it feels, don't forget the link that goes back to the homepage in resources/views/pages/cart.blade.php:
-<a href="/">
+<a href="/" wire:navigate>
    ← Back
</a>
Now, test this in your browser. That's the cherry on top, isn't it?
Conclusion
We've explored how to integrate these three powerful packages to create a user-friendly online store. You now have the basic knowledge needed to craft modern SPA-like web applications quickly, even without being proficient in JavaScript.
If you want to spend more time on this code, here are a few areas of improvement:
- Make all the components anonymous. They're still small, so why split them into multiple files? Learn more on the official documentation.
- Write tests for the components. Learn more on the official documentation.
- Volt components can also be used with the traditional class-based API. You can experiment with that too!
Access the code of this tutorial on GitHub.